A production-side chlorosis workflow for greenhouse foliage crops, from pattern mapping to root-zone verification.
By the Glowrium Editorial Team
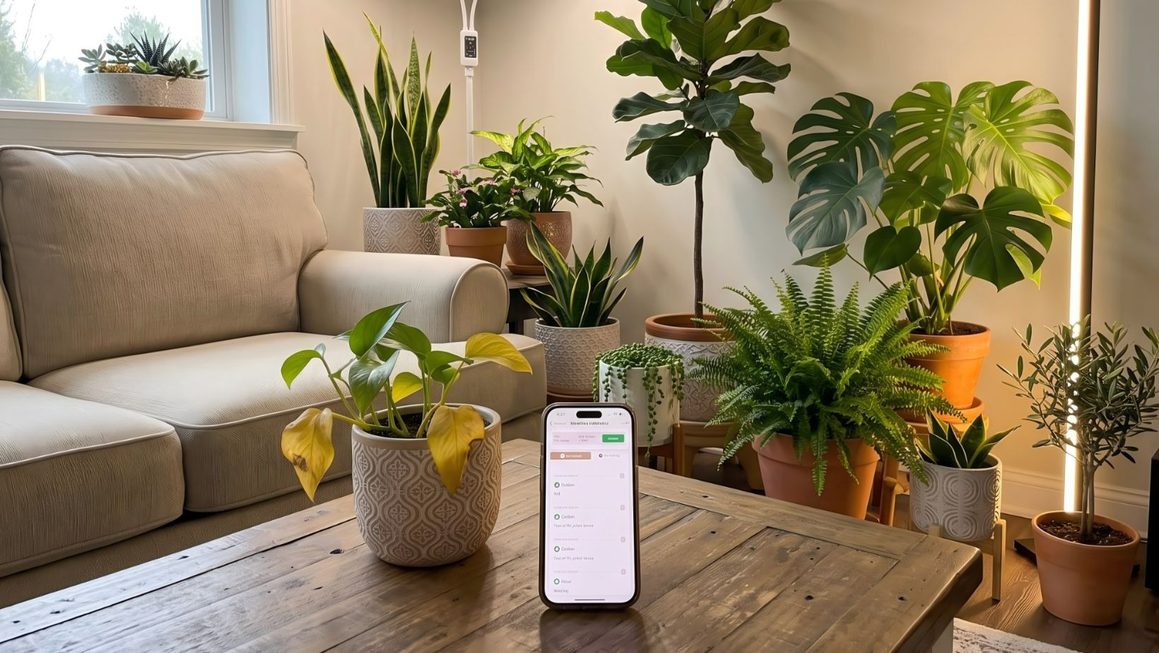
Chlorosis patterns and root-zone measurements should be recorded before correcting fertilizer, irrigation, or light. Image courtesy of Glowrium.
Chlorosis is easy to see and easy to misread. A yellow crop may point to root injury, an unavailable nutrient, excess soluble salts, low light, temperature stress, irrigation nonuniformity, or a pest problem. Several causes can occur at the same time, and a corrective treatment chosen from leaf color alone can increase losses instead of reducing them.
A stronger greenhouse diagnosis starts with distribution and crop history, then narrows the possibilities with root-zone measurements and plant inspection. The goal is not to name a deficiency from across the aisle. It is to reach a testable hypothesis before changing water, fertilizer, light, or chemistry across an entire block.
1. Map the pattern before touching the controls
Begin at the crop level. Record which species, cultivar, bench, irrigation zone, plug lot, transplant date, and container size are affected. Uniform symptoms across a block often suggest a shared environmental or cultural factor. Scattered plants, edge effects, or a pattern that follows an emitter line point toward a different set of causes.
Then map symptoms on the plant:
· Older foliage first: consider mobile nutrients, long-term root stress, or normal senescence.
· Young foliage first: consider iron or manganese availability, high substrate pH, or damaged growing points.
· Interveinal chlorosis: record which leaf age is affected before assigning a nutrient cause.
· One-sided bleaching or marginal scorch: check light, heat, salts, and application injury.
· Yellowing with wilting despite wet media: inspect roots and oxygen conditions immediately.
2. Verify the root zone
Roots are the plant’s interface with water, oxygen, and mineral nutrients. Slide several representative plants from their containers and compare symptomatic and healthy units from the same lot. Healthy roots are generally firm and appropriately colored for the crop; dark, soft, sloughing, or sour-smelling roots require a closer look at saturation, temperature, pathogens, and irrigation frequency.
Measure substrate pH and electrical conductivity using the same sampling method each time. Media pH changes nutrient availability, while EC helps reveal whether soluble salts are too high, too low, or uneven. Also review irrigation-water alkalinity, hardness, pH, and EC. Penn State Extension recommends tracking water-quality results over time because trends are more useful than a single isolated reading.
3. Treat visual nutrient clues as hypotheses
Leaf position can help narrow the list: nitrogen and magnesium problems commonly appear on older foliage, while iron-related chlorosis is more often visible in newer leaves. However, nutrient-like symptoms may result from root injury, incorrect pH, cold media, antagonism, or restricted uptake even when fertilizer is present. A positive diagnosis should be supported by representative substrate and, when warranted, tissue analysis.
| Observed pattern | Likely categories | Verify next | Avoid |
| Older leaves yellow first | Nitrogen or magnesium shortage; chronic root stress; senescence | Fertilizer history, pH/EC, roots, tissue test | Blanket feeding before testing |
| New leaves are interveinally chlorotic | Iron or manganese availability; high pH; damaged roots | Substrate pH, alkalinity, root health, tissue test | Assuming iron is absent |
| Wet media plus wilt and yellowing | Low root-zone oxygen; root disease; irrigation excess | Container weight, roots, drainage, pathogen signs | Adding water by schedule |
| Marginal scorch or uneven bleaching | High EC; light/heat stress; spray injury | EC, canopy temperature, application records | Changing several inputs at once |
| Symptoms follow a bench or emitter pattern | Distribution or equipment problem | Pressure, emitters, injector, light map | Diagnosing each plant separately |
4. Review light, temperature, and irrigation together
Low light reduces water use and can turn a previously acceptable irrigation interval into chronic saturation. High light or heat can increase demand, expose distribution gaps, and produce bleaching or scorch. Compare recent weather, shade deployment, supplemental-light schedules, day and night temperatures, vapor-pressure conditions, and irrigation timing with the date symptoms began.
When supplemental lighting is part of the production plan, compare canopy coverage and mounting height rather than relying on fixture wattage alone. Glowrium’s grow-light collection provides examples of adjustable formats, timers, and white-light options that can be evaluated alongside crop-specific intensity targets.
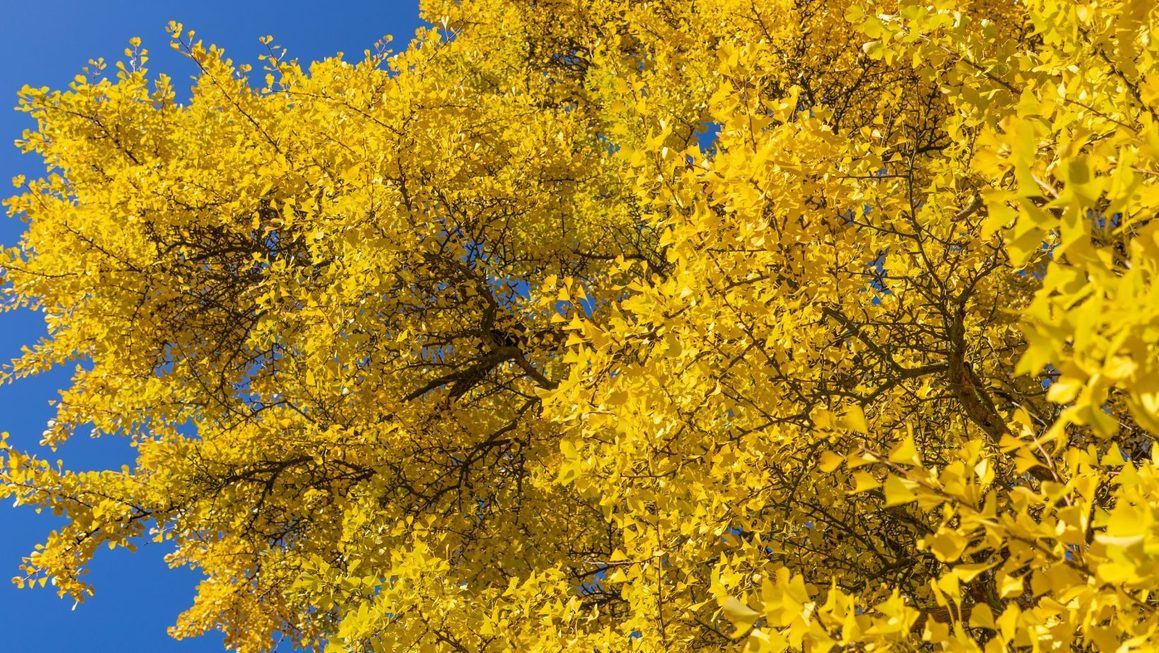
Inspect both sides of leaves and growing points for insects, webbing, residue, lesions, and physical signs of disease. Pests and pathogens should remain in the differential diagnosis, but their presence must match the crop pattern and damage. Do not let a few incidental insects distract from a block-wide root-zone or injector problem.
5. Correct one verified cause and document the response
Once evidence supports a cause, test the correction on a clearly marked subset when crop value and time allow. Record the date, input change, affected area, and follow-up measurements. Existing chlorotic tissue may not recover fully, so evaluate the color, size, and uniformity of new growth. If the response does not match the hypothesis, return to the pattern map instead of stacking additional treatments.
A useful incident record includes:
· Crop, cultivar, lot, stage, container, substrate, and bench location.
· Symptom distribution and the leaf age affected.
· Root observations, substrate pH/EC, and irrigation-water results.
· Recent fertilizer, pesticide, growth-regulator, and lighting changes.
· Photographs taken from the same position before and after correction.
· The corrective action and the response of new growth.
Turn diagnosis into a repeatable production system
The most valuable outcome of a chlorosis investigation is not simply saving one crop. It is improving the records and checkpoints that prevent the next incident. Standardized scouting, routine pH and EC monitoring, irrigation-water testing, and clearly assigned follow-up dates turn yellow foliage from a recurring surprise into a manageable production signal.
Contributor note
Glowrium develops smart supplemental-lighting and plant-care tools for indoor growers. This article is educational and does not replace crop-specific laboratory testing or professional diagnostic services.